Installing Solaris 10.
"Solaris is a Unix operating system originally developed by Sun Microsystems. It superseded their earlier SunOS in 1993. Oracle Solaris, as it is now known, has been owned by Oracle Corporation since Oracle's acquisition of Sun in January 2010. Solaris has a reputation for being well-suited to symmetric multiprocessing, supporting a large number of CPUs. It has historically been tightly integrated with Sun's SPARC hardware (including support for 64-bit SPARC applications since Solaris 7), with which it is marketed as a combined package. However, it has also supported x86 systems since Solaris 2.1 and it includes support for 64-bit x86 applications since Solaris 10."
The paragraph above is how Solaris is described in the article Solaris (operating system) at p2k.unibabwi.ac.id, where you can read further details about this OS.
Solaris 10 can be downloaded as ISO image from the Oracle Solaris 10 Downloads webpage. This tutorial shows how to install the OS on a VMware Workstation 16 virtual machine (running on Windows 10). Installation on other virtualization platforms or on a physical machine should be similar.
Note: Here are the settings of my VMware virtual machine:
- OS: Solaris 10, 64-bit
- Processor: 2 CPU, 1 core
- Memory: 2 GB
- Harddisk: LSI logic, SCSI, 25 GB
- Network adapter: VMware default
- Display: 3D graphic is not supported on VMware
- USB: USB2 (?)
- Boot: BIOS boot
Boot from the DVD using the default boot options, first Oracle Solaris (screenshot on the left), then Oracle Solaris interactive (screenshot on the right).
![Installing Solaris 10: The Solaris boot screen [1] Installing Solaris 10: The Solaris boot screen [1]](../screenshots/solaris_install1a.jpg)
|
![Installing Solaris 10: The Solaris boot screen [2] Installing Solaris 10: The Solaris boot screen [2]](../screenshots/solaris_install1b.jpg)
|
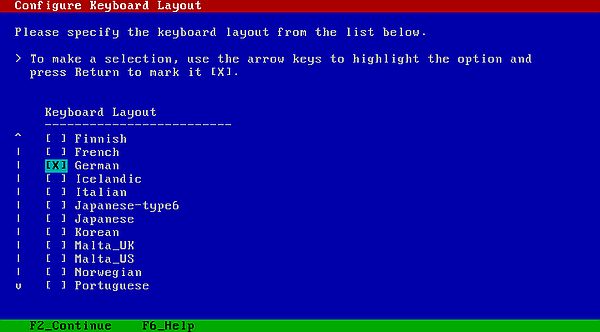
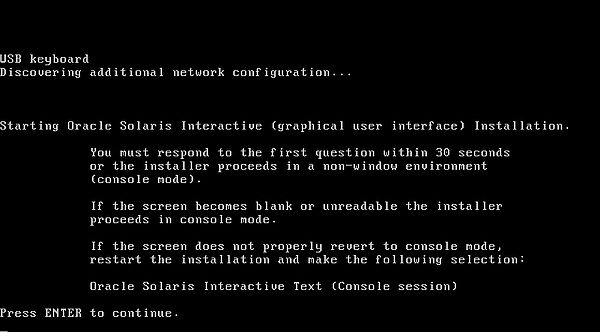
Before starting the installation, you have to choose a keyboard layout (screenshot on the left). The (pre-)installation process starts with some information about the graphical installer (screenshot on the right).
|
|
Notes:
- The installation of Solaris 10 needs patience: There will be lots of questions to answer!
- The default Solaris screen resolution is rather uncommon, the screen being lots higher than this is usually the case. As a consequence, the virtual machine window did not fit entirely on the screen of my laptop. Thus, on the screenshots below, the bottom part of the Solaris desktop is missing...
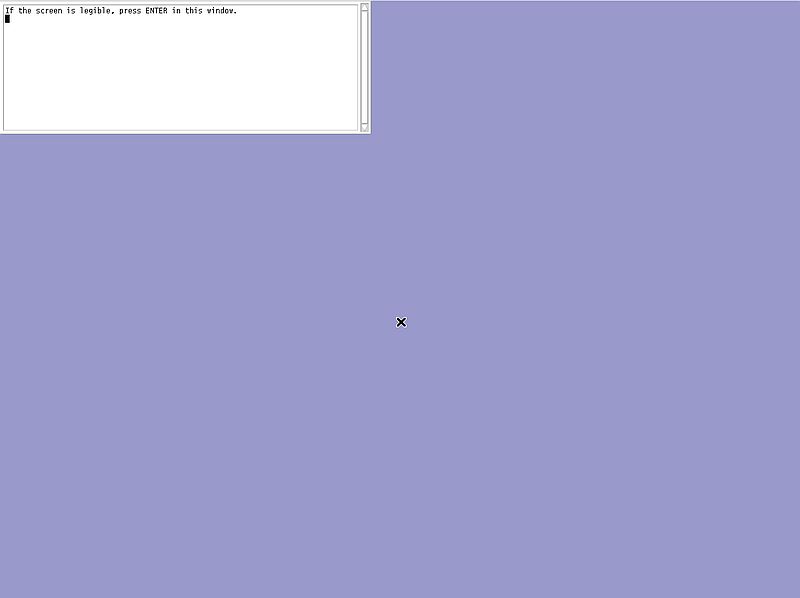
The first screen of the graphical installer should look like the one on the screenshot below. If you can read the text, hit ENTER to continue; if not, you'll have to restart the installation using the interactive text installer.
|
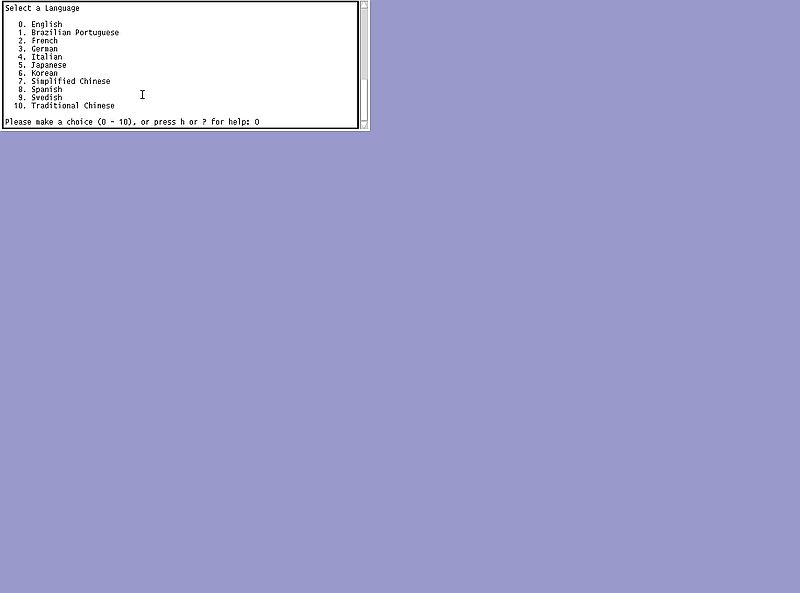
The first feature to select is choosing a language (0 = English).
|
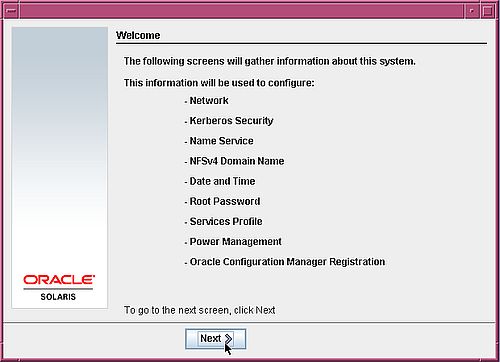
System information is loaded, then the Welcome screen is displayed. Note, that the following screenshots do not show the entire Solaris desktop, but only the actual window on the (mauve colored) desktop.
|
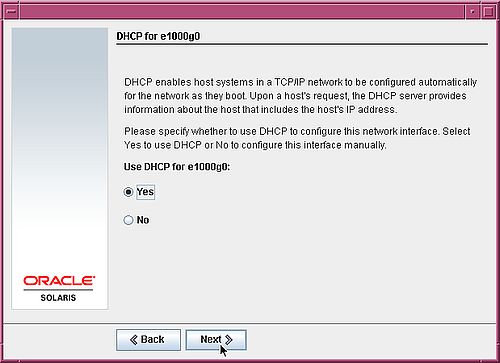
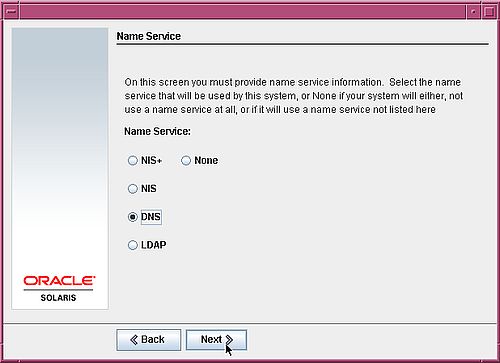
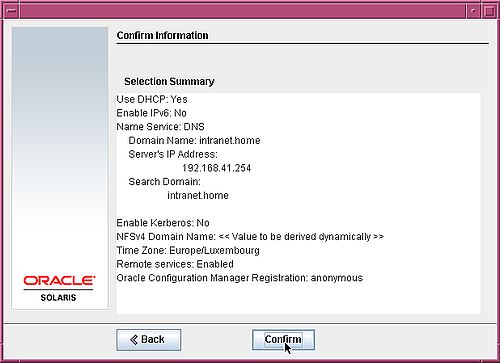
The first component to be configured is the network. In the first window, select Networked, in the second one select Yes to use network configuration by DHCP (screenshot on the left), in the third one select No to not use IPv6 addresses, in the fourth one, select No to not use Kerberos, and in the fifth one, select DNS to use the hosts name resolution by DNS (screenshot on the right).
|
|
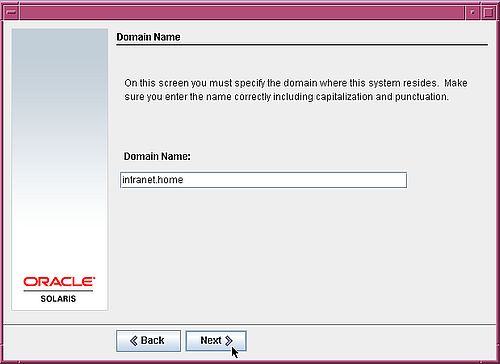
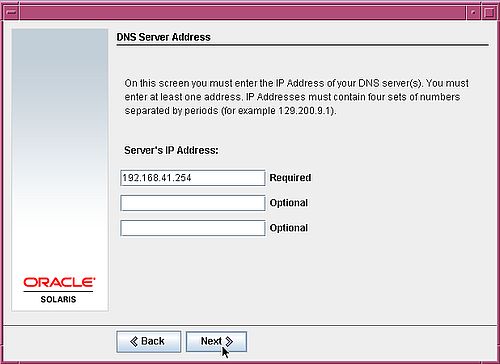
There are four further windows dealing with the network configuration: Input of the domain name ("intranet.home" in my case) (screenshot on the left), the IP address of the DNS server(s) (192.168.41.254 in my case) (screenshot on the right), the search domain(s) ("intranet.home" in my case), and the NFSv4 domain name (that I selected to be derived by the system, without being sure that this is the good choice...).
|
|
Note: The values filled in here are only relevant if your Solaris machine is part of a local network...
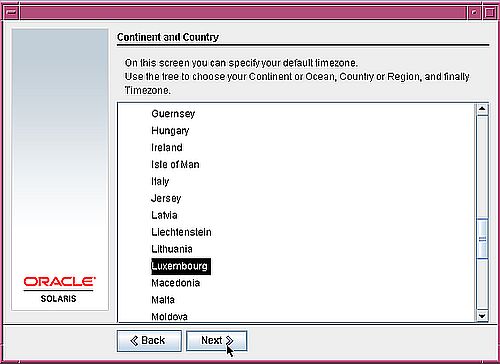
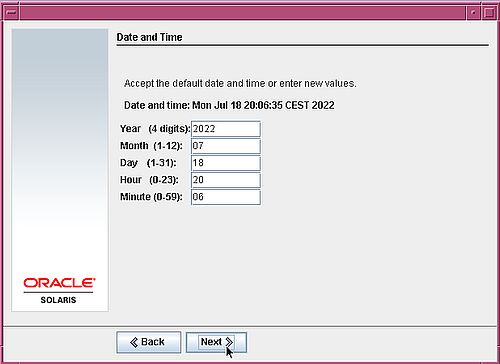
The Solaris installation program offers 3 possibilities to set the timezone. I chose to enter it by Geographic/continent/region and selected Luxembourg in the following window (screenshot on the left). If date and time aren't correctly set by Solaris, you can change it in the window that opens when the timezone configuration is done (screenshot on the right).
|
|
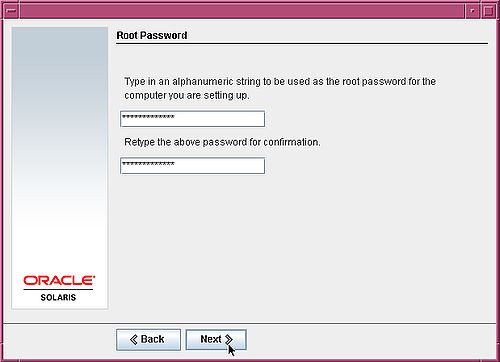
The Solaris installation program now asks you to enter the root password.
|
Note: There is no regular user created during the installation of Solaris 10. Thus, you'll have it to do when the installation is finished (cf. my article Solaris 10 post-installation configuration).
In the next window, you may or may not enable remote services. On a local network, doing so is acceptable; on the Internet, selecting No (and enabling only the secure shell) would be the better choice. Anyway, you can enable services as you want/need later...
The following two windows are about sending data concerning your Solaris system to Oracle. You can register your Solaris, or send data anonymously. I guess that even if you wanted to do so, it wouldn't probably be possible anymore in 2024. I unselected the registration checkbox, and let the fields in the anonymous data sending window all empty.
The installation program now has all that it needs to configure the system. On the summary page, push the Confirm button to do so (or the Back button to review the settings that you made).
|
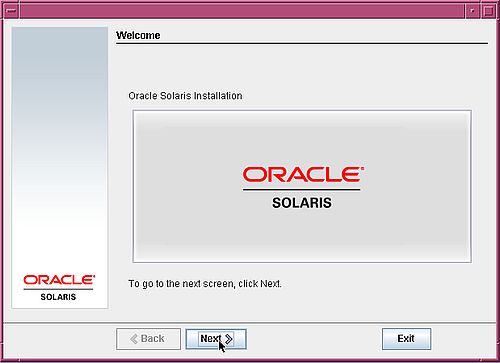
A new Welcome window introduces the "real" installation process.
|
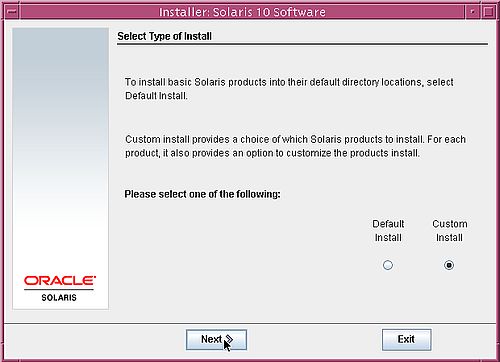
In the following windows, you have to choose if you want to automatically reboot when installation is finished (you are told that you'll have to eject the CD/DVD manually in order to boot from the hard drive), choose the installation media (CD/DVD in our case), and accept the license. Then, you have to select the type of installation: custom installation or default installation.
|
Then, you have to choose if, besides English, you want to install other geographic regions and software localizations (I chose not to do), to choose the system locale (English - POSIX C being the only choice in my case), to select, besides the DVD, additional locations to scan for software (selection here: None).
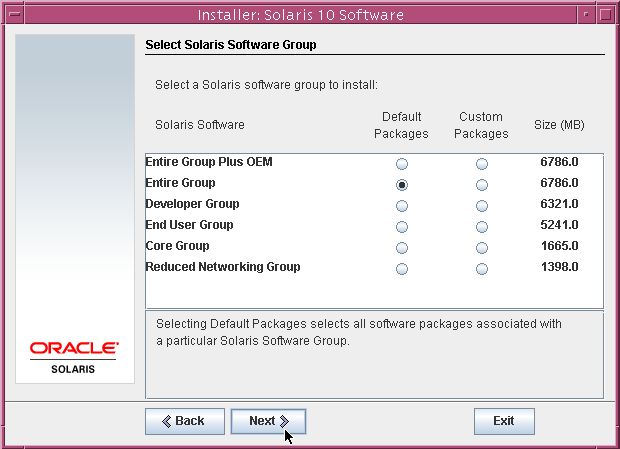
You have now to choose among several proposed software groups. I chose to install the Entire group.
|
Now it's time to choose where to install Solaris. In the first partitioning window, you are asked to select the disk(s) to be used to install Solaris onto (on my system with one single harddisk this is: c 110d0) (screenshot on the left). In the second one, you are asked to select the disks where you want fdisk to create a Solaris partition (c 110d0, of course) (screenshot on the right).
![Installing Solaris 10: partitioning - Disk selection [1] Installing Solaris 10: partitioning - Disk selection [1]](../screenshots/solaris_install14a.jpg)
|
![Installing Solaris 10: partitioning - Disk selection [2] Installing Solaris 10: partitioning - Disk selection [2]](../screenshots/solaris_install14b.jpg)
|
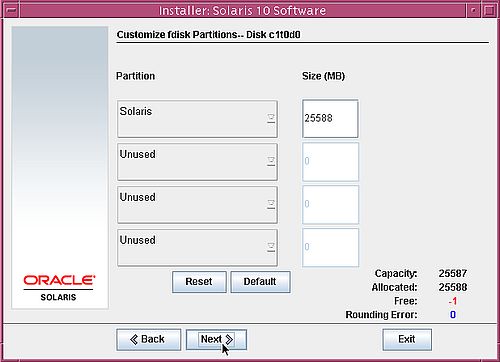
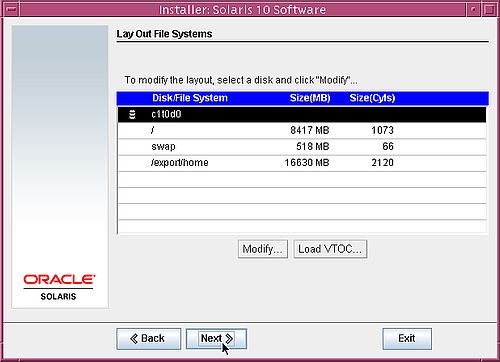
You normally create one single Solaris partition per disk (the 3 other entries in the partition table being empty), thus the partition size (normally) equals the size of the disk (25 GB in my case) (screenshot on the left). You can or not accept the default file systems layout, i.e. the Solaris partition slices created by default by the setup program. Not really a reason for not accepting the default layout (screenshot on the right).
|
|
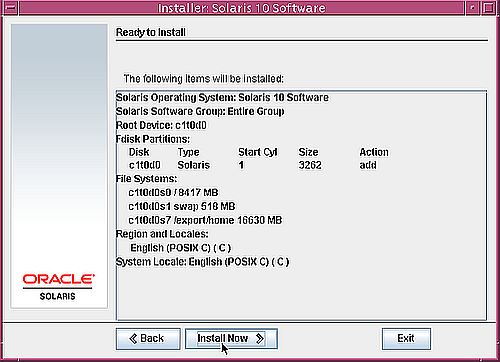
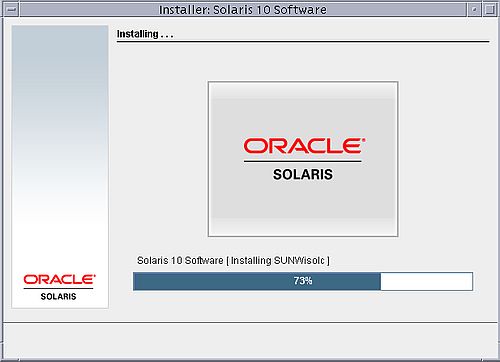
Ready for installation now! A summary of the install options is displayed. Push the Install now button to proceed, or the Back button if you want to make some changes (screenshot on the left). The final part of the installation is without that any user intervention is needed. The screenshot on the right shows the file copy from the DVD to the Solaris partition on the harddisk.
|
|
When file copy is finished, the installer pauses for 90 seconds. I don't remember, but I suppose that it's here where you can remove the installation DVD, before Solaris will reboot.
When Solaris reboots (from the harddisk), a boot menu, as shown on the screenshot below, is displayed.
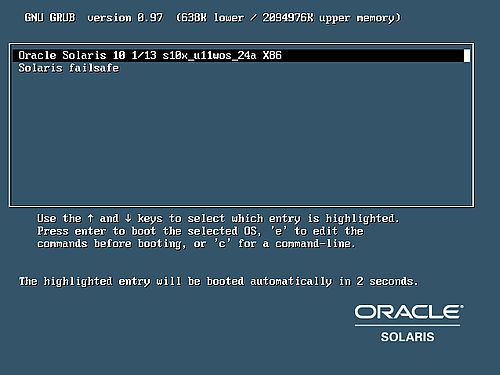
|
Solaris starts up with several warning and error messages as shown on the screenshot below. I did not investigate the issues; in fact, my system seems to work (more or less) correctly.
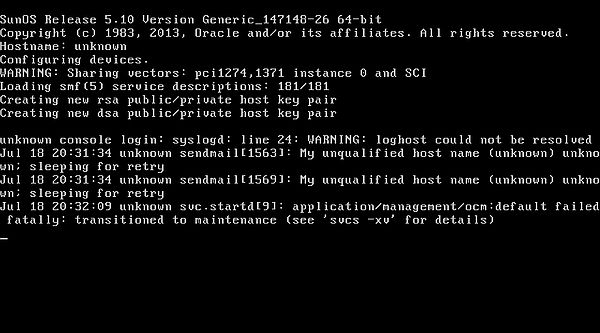
|
The screenshot below shows the first login screen (the second screen asks for the password). As no standard user has been created during setup, we have to log in as root. For creating a user (as well as for setting the hostname and changing the screen resolution), please, have a look at my tutorial Solaris 10 post-installation configuration.
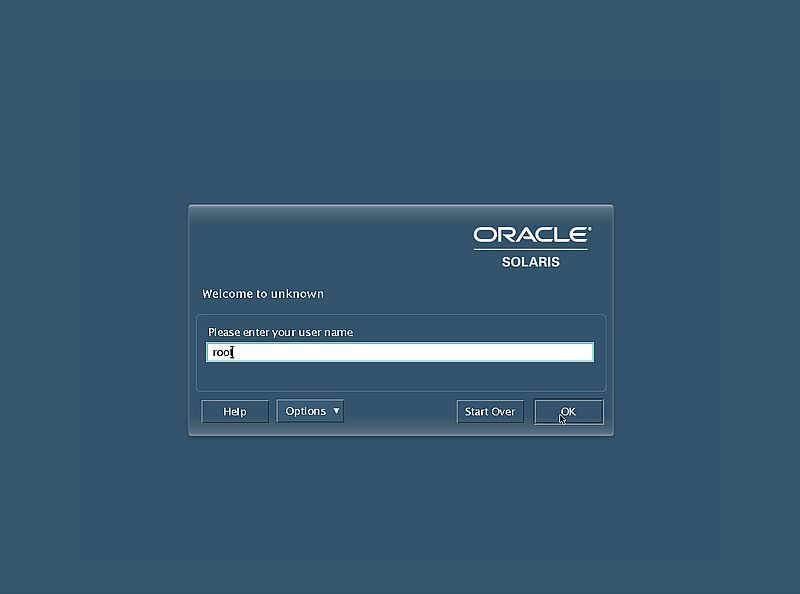
|
The first time that you log in to Solaris 10, you are asked to choose a desktop (you will be able to change this at any time). The default is the Java Desktop System.
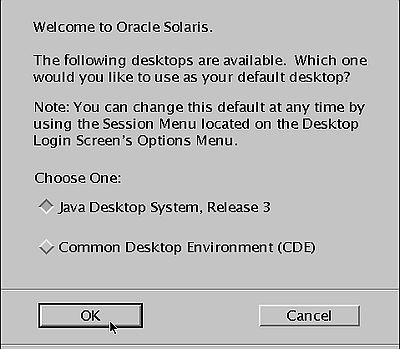
|
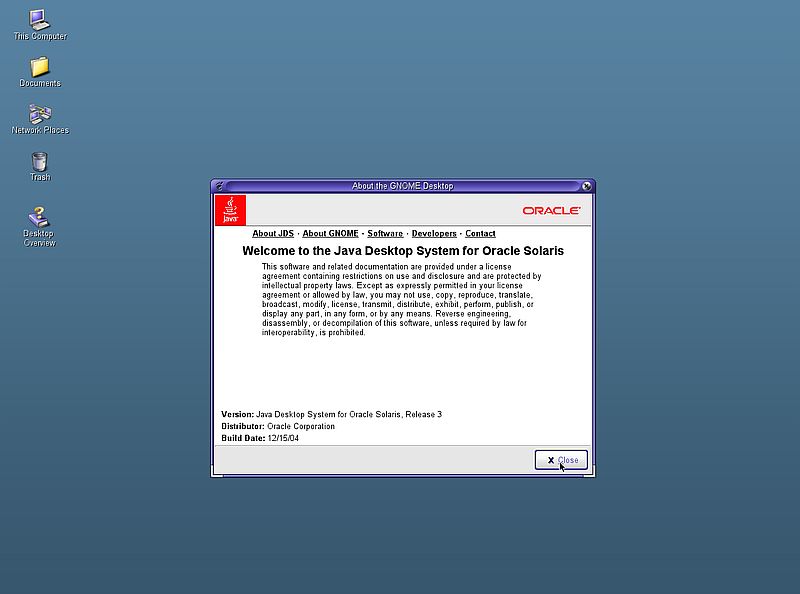
The screenshot below shows the Solaris 10 desktop with the Welcome window opened. As I said above, due to the uncommon default screen resolution the lower part of the virtual machine window (the lower part of the Solaris desktop) is not visible on my screenshots.
|
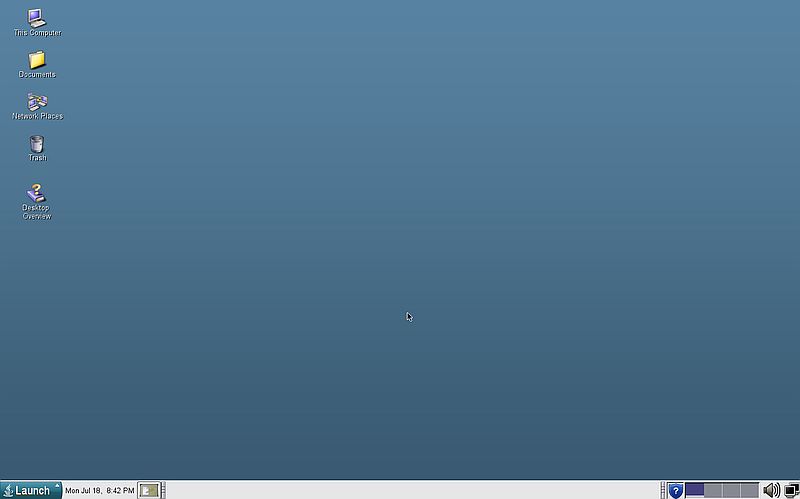
And, to terminate the tutorial, here is a screenshot of the Solaris 10 desktop after I had changed the screen resolution.
|
If you find this text helpful, please, support me and this website by signing my guestbook.