Installing Haiku 64-bit.
"Haiku, originally OpenBeOS, is a free and open-source operating system for personal computers. It is a community-driven continuation of BeOS and aims to be binary-compatible with it, but is largely a reimplementation with the exception of certain components like the Deskbar. The Haiku project began in 2001, supported by the nonprofit Haiku Inc., and the operating system remains in beta."
The paragraph above is how Haiku is described in Wikipedia. Haiku seems to be a modern desktop OS, with lots of software packages available. It installs and runs fine on VMware Workstation. However, don't forget that it's beta stage only, so there may be bugs!
This tutorial describes the installation of Haiku R1 Beta5 64-bit on a VMware Workstation 16 virtual machine. My VM (Other OS; 64bit) has 1 CPU, 1 GB of RAM (768 MB during installation; I increased it later) and a 15 GB IDE harddisk. It also has a floppy drive (I removed it later; floppy drives seem not to be supported?), a CD/DVD drive (needed for installation), a network card, and an USB 3.1 controller. Display is configured with VMware default settings (no 3D), and the boot option is set to BIOS.
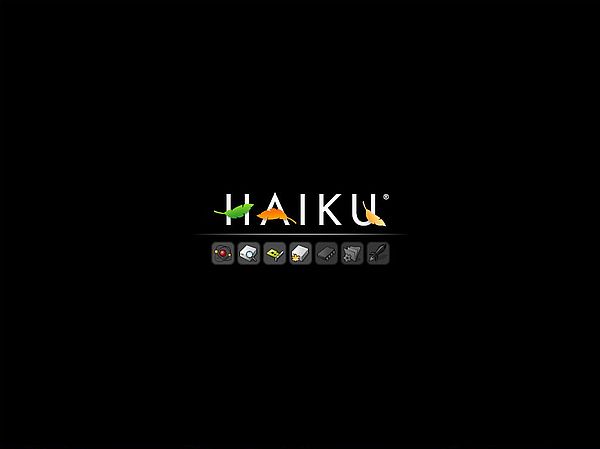
I downloaded the OS from the Haiku website. The download file is a DVD image (ISO) that you can mount in a virtual CD/DVD-drive, or directly in VMware Workstation. If your target computer has a floppy drive, you'll have to change the BIOS boot sequence: 1. CD-drive; 2. harddisk; 3. removable media. Then, you can boot from the installation DVD. The screenshot below shows the Haiku startup screen.
 |
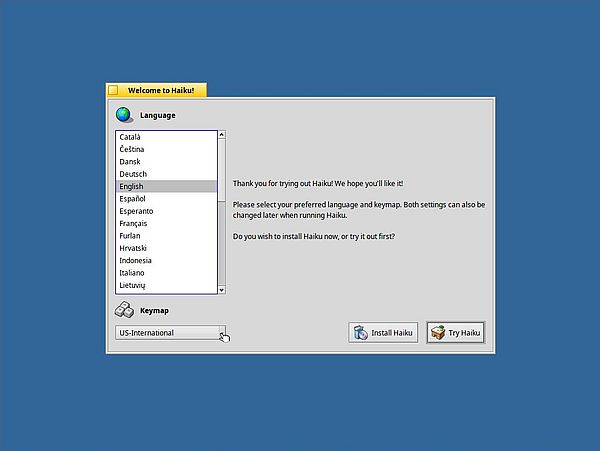
On the following screen, you have to choose a language. If you don't use a US keyboard, you have also to choose a keymap (keyboard layout). You now have two possibilities: 1. if you want use the OS as Live DVD (without installing it), choose to Try Haiku; 2. if you want a real OS stored on your hard disk, choose Install Haiku.
 |
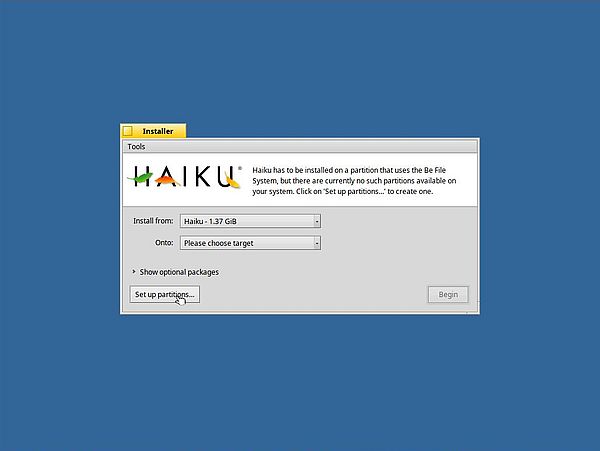
After the display of the Welcome screen, you have to choose the installation source and target. The source is automatically filled in (our installation DVD). The target has to be selected from the listbox, which, however, is empty (no choices available). This is normal at this stage. A new harddisk isn't partitioned, thus we'll have first to create a partition. To do so, push the Set up partitions... button.
 |
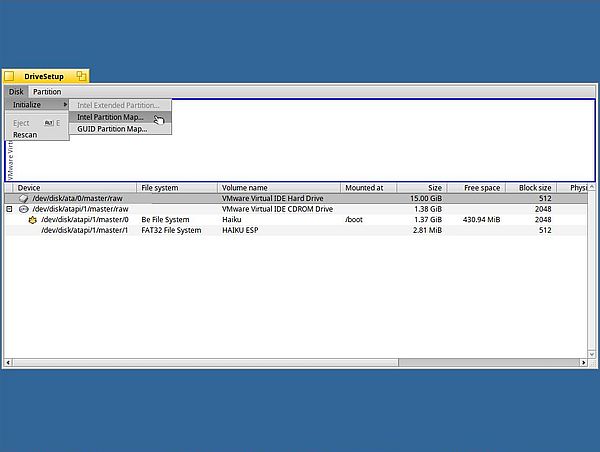
This launches the Haiku partitioning tool. In the drive list, we find, besides the DVD, our 15 GB IDE harddisk. Before creating a partition, however, we'll have to create a partition table. Select the harddisk in the lower pane, and from the menu, choose Disk > Initialize > Intel Partition Map.
 |
After a double confirmation that you really want to do this, a message that the disk initialization was successful is displayed. You can now proceed to create a new partition. Select the empty space on the initialized harddisk, then from the menu, choose choose Partition > Create.
![Installing Haiku: Creating a new partition [1] Installing Haiku: Creating a new partition [1]](../screenshots/haiku_install5.jpg) |
By default, the entire disk size (except the first 512 bytes that are reserved for the MBR) is used for the new partition. The default partition type is Be file system. Be sure that the checkbox Active partition is selected, otherwise you will not be able to boot from the harddisk.
![Installing Haiku: Creating a new partition [2] Installing Haiku: Creating a new partition [2]](../screenshots/haiku_install6.jpg) |
After confirmation, a partition with unknown file system is created. We'll have to format the partition before we can use it. The default, Be file system is the most obvious choice for how to format the partition.
![Installing Haiku: Creating a new partition [3] Installing Haiku: Creating a new partition [3]](../screenshots/haiku_install7.jpg) |
No reason not to accept the default formatting options...
![Installing Haiku: Creating a new partition [4] Installing Haiku: Creating a new partition [4]](../screenshots/haiku_install8.jpg) |
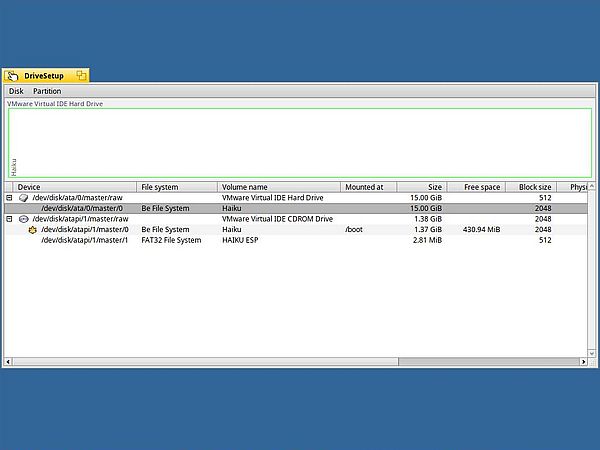
The screenshot below shows the harddisk partition layout when we're done. It will be onto the new 15 GB, Be file system formatted, partition "Haiku" that we will install the OS.
 |
Notes:
- You can check if the partition is effectively active by choosing Partition > Change parameters... from the menu.
- If you are used to partition a harddisk in order to install a Linux or similar operating system, please, note that with the Haiku partitioning tool the menu option Partition > Mount is to mount the partition at this moment (no sense to do so...), and not to specify the mount point of the partition when the operation system is installed.
Use the square in the upper-left corner of the window to close it, i.e. to leave the partitioning tool and to return to the installer program.
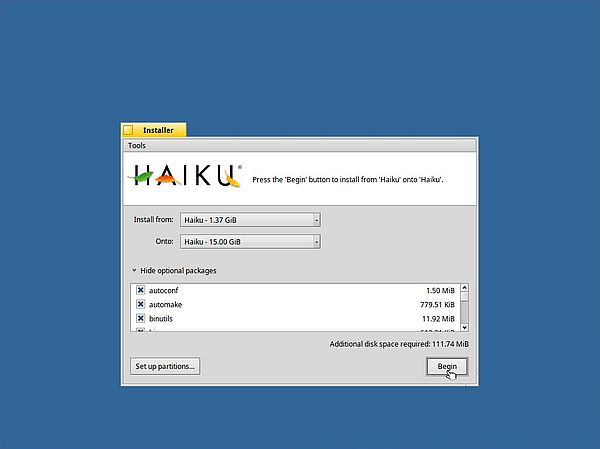
This leads us back to the source and target selection screen, with the difference that now our 15 GB "Haiku" partition is available as target selection. To install the OS on the newly created partition, push the Begin button.
 |
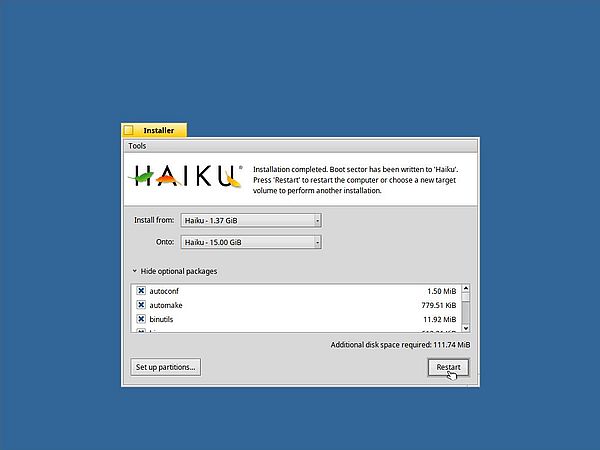
Files are now copied from the DVD to the harddisk. When done, the message Installation completed. Boot sector has been written to "Haiku" is displayed. Push the Restart button to reboot the computer.
 |
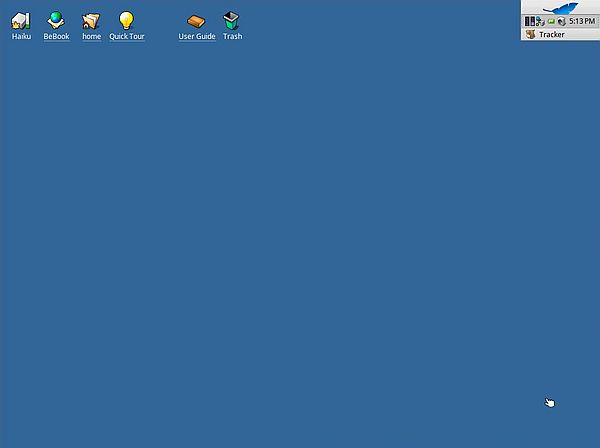
There us no boot menu, and there is no login screen. The system starts up by showing the Haiku desktop.
 |
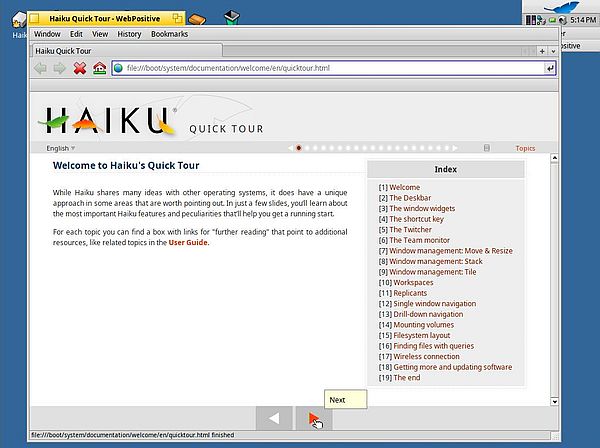
Haiku is well documented. On the desktop, you can find two documentation related shortcuts: Quick Tour is a general introduction to the OS, teaching you the Haiku fundamentals (screenshot); User Guide is a detailed description of the OS and its usage.
 |
At the top-right corner of the desktop, you can find the Haiku Deskbar. Clicking the blue feather opens a menu, similar to the Windows Start menu, from where you can access the major Haiku directories, launch applications, set the system preferences, shutdown the computer...
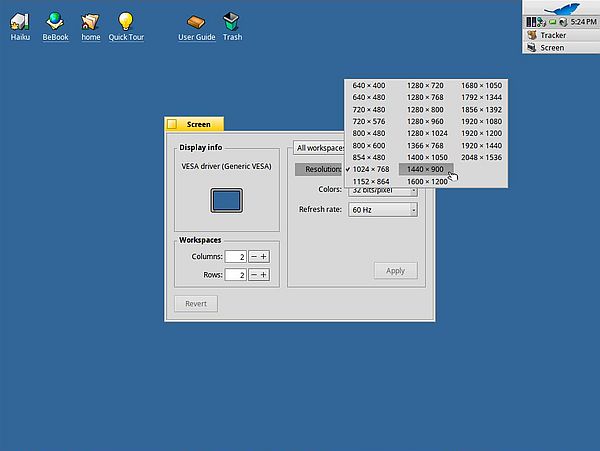
There are no VMware Tools available for Haiku, but Haiku by default well supports the VMware graphics card. Thus, we can easily increase the screen resolution (default is 1024×768). From the Deskbar, choose Preferences > Screen. In the opening Screen window, click the arrow of the Resolution drop-down box, and then, from the resolutions displayed, choose the one that suits you the most.
 |
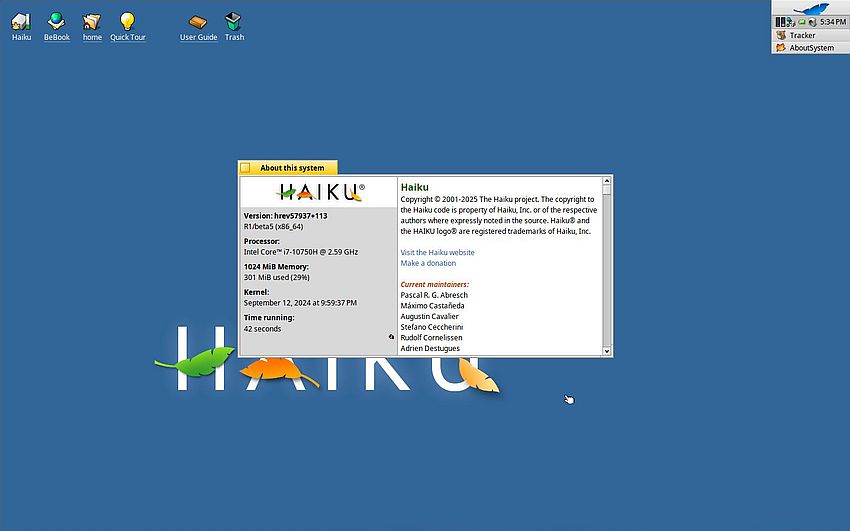
The screenshot below shows the Haiku desktop after I changed the screen resolution to 1440×900. It also shows a brief overview of the actual hardware and software (choose About Haiku from the Deskbar to display it).
 |
Note: I will (some day) write a second part of the tutorial, dealing with the basics of this rather amazing OS, further system preferences (that you might want to change), applications included or available in the Haiku repository...
If you find this text helpful, please, support me and this website by signing my guestbook.